Why go offline for voice dictation on Mac?
macOS includes a built-in dictation feature (press Fn twice), but with significant limitations:
- Privacy: macOS dictation sends audio to Apple's servers for processing. AirTypes processes everything locally — your audio never leaves your machine.
- Accuracy: AirTypes’ largest on-device accuracy tier consistently outperforms Apple’s built-in speech recognition for technical vocabulary, code-related terms, and many non-native English speakers.
- No internet required: AirTypes works on flights, in coffee shops with bad WiFi, and behind corporate firewalls. macOS built-in dictation stops working the moment you lose your connection.
- Works in every app: AirTypes injects text at your cursor in any macOS application — VS Code, Slack, Terminal, Pages, email. It works system-wide, not just in text fields that support Apple's dictation API.
System requirements
- macOS: macOS 12 Monterey or later
- Chip: Apple Silicon (M1, M2, M3, M4) or Intel (2015 or later recommended)
- RAM: 4 GB minimum. 8 GB recommended for medium and large downloaded voice-model tiers.
- Disk space: 200 MB for the app + roughly 75 MB–3 GB depending on which accuracy tier you download
- Microphone: Built-in Mac microphone, AirPods, or any USB/Bluetooth mic
Download and install AirTypes
- Go to airtypes.com/download and select macOS
- Choose your Mac type:
- Apple Silicon — if your Mac has an M1, M2, M3, or M4 chip (2020 or later)
- Intel — if your Mac has an Intel processor (2019 or earlier)
Not sure? Click > About This Mac. If it says "Chip: Apple M1" (or M2/M3/M4), choose Apple Silicon. If it says "Processor: Intel", choose Intel.
- Open the downloaded
.dmgfile - Drag the AirTypes icon into your Applications folder
Allowing AirTypes through macOS Gatekeeper
AirTypes is not distributed through the Mac App Store. macOS Gatekeeper will block it on first launch — this is normal for any app downloaded from the web. Here's how to allow it:
- Open AirTypes from your Applications folder. macOS will show a dialog saying the app "can't be opened because Apple cannot check it for malicious software".
- Open System Settings > Privacy & Security.
- Scroll down to the Security section. You'll see a message: "AirTypes was blocked from use because it is not from an identified developer."
- Click "Open Anyway".
- macOS will show one more confirmation dialog. Click "Open".
You only need to do this once. After the first launch, macOS remembers your choice and AirTypes opens normally every time.
AirTypes is safe to use. It runs 100% offline — no network connections, no telemetry, no data collection. The code is a native Tauri application built in Rust, one of the most memory-safe languages available.
Having trouble with Gatekeeper?
If clicking "Open Anyway" doesn't appear, you can allow AirTypes from Terminal:
xattr -cr /Applications/AirTypes.appThen open AirTypes again from Applications. This removes the quarantine flag macOS adds to downloaded files.
Still stuck? Email us at [email protected] or use the live chat on airtypes.com — we do full install support and typically reply within minutes.
Granting Accessibility permission
AirTypes needs macOS Accessibility access to type text at your cursor position. Without it, AirTypes can transcribe your voice but cannot inject the text into your active application.
- When you first launch AirTypes, macOS will prompt you to grant Accessibility access.
- Click "Open System Settings" in the dialog.
- In Privacy & Security > Accessibility, find AirTypes in the list and toggle it on.
- You may need to unlock the settings by clicking the lock icon and entering your password.
AirTypes uses this permission exclusively to simulate keyboard input at your cursor. It does not read your screen, monitor other applications, or access any data beyond its own process.
First use: hold the hotkey, speak, done
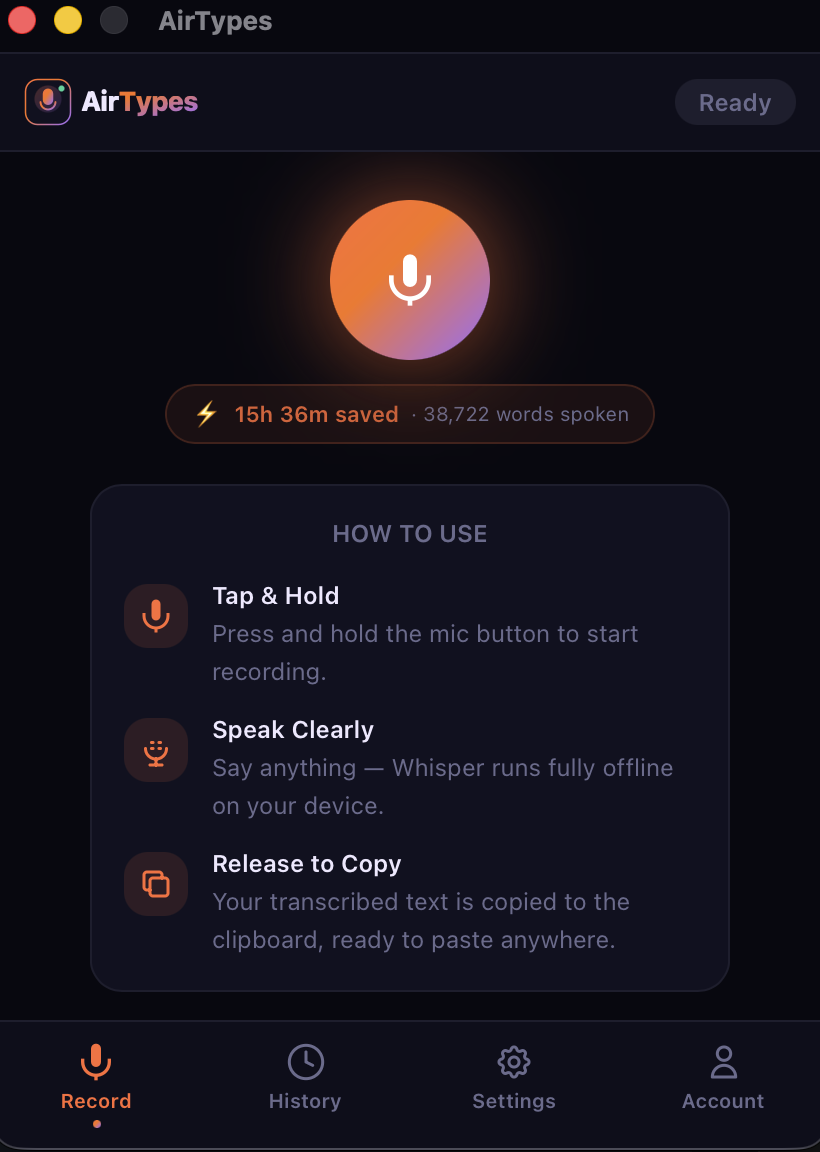
Once installed and permissions are granted:
- AirTypes appears in your menu bar (top-right of your screen).
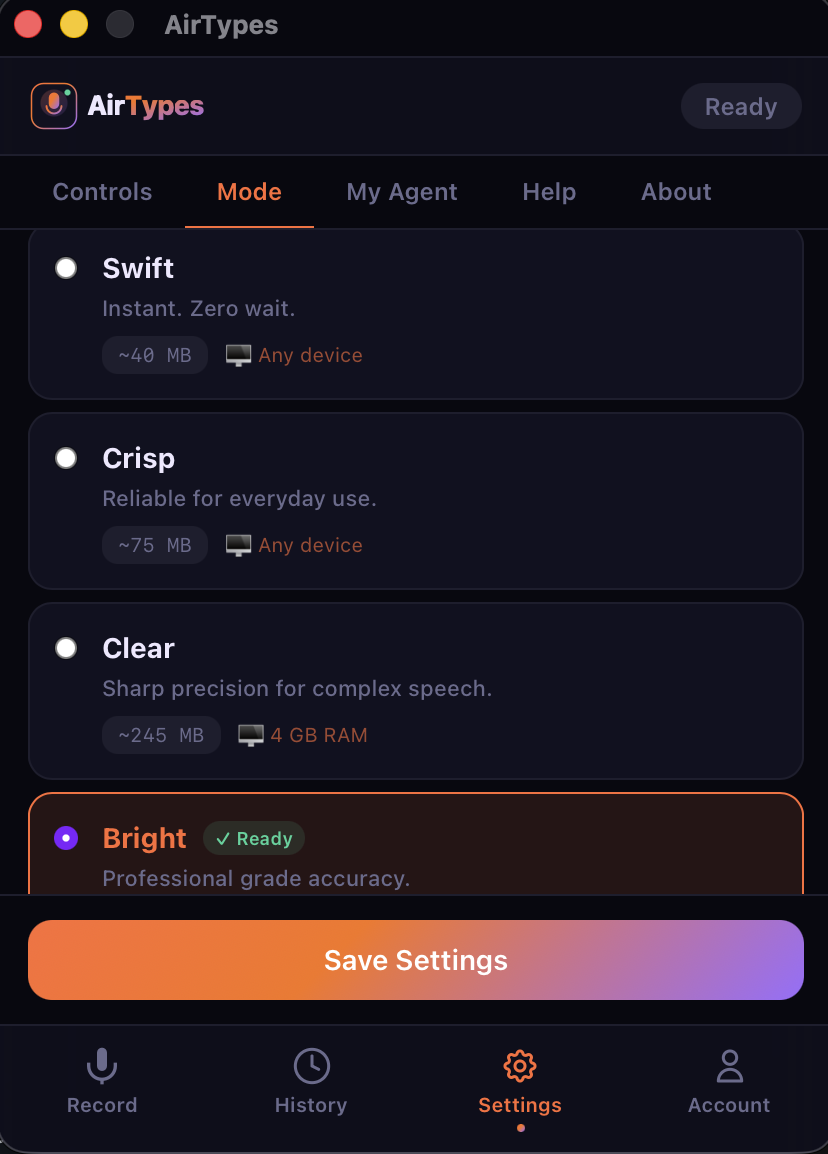
- Click the menu bar icon to open settings and download an accuracy tier (compact tiers are smaller and faster; the largest tier is ~3 GB and most accurate).
- Place your cursor in any text field — email, Slack, VS Code, Notes, anywhere.
- Hold ⌘+Shift+Space (default hotkey) and speak naturally.
- Release the hotkey. Your transcribed text appears at the cursor within seconds.
Filler words ("um", "uh", "like") are automatically removed. Grammar is corrected. You can choose a writing tone (Professional, Casual, Formal, Neutral) in settings.
Apple Silicon vs. Intel: performance differences
Transcription runs on your CPU. Apple Silicon Macs have a significant advantage thanks to their unified memory architecture and efficient cores.
Apple Silicon (M1/M2/M3/M4)
- Tiny model: near-instant transcription (~0.3s for a 10-second clip)
- Medium model: ~2–4 seconds for a 30-second clip
- Large V3: ~5–8 seconds for a 30-second clip on M1; faster on M2/M3/M4
- Recommended: Medium model for daily use, Large V3 for maximum accuracy
Intel Mac
- Tiny model: ~1–2 seconds for a 10-second clip
- Medium model: ~8–15 seconds for a 30-second clip
- Large V3: may be too slow for real-time use on older Intel Macs
- Recommended: Tiny or Small model for responsive dictation on Intel
AirTypes lets you switch between models at any time in settings. Start with Tiny to get familiar, then move up if your hardware handles it.
Tips for best results on macOS
- Use AirPods or a headset mic — the built-in MacBook microphone picks up keyboard noise. A dedicated mic dramatically improves accuracy.
- Speak in complete thoughts — the engine works best with full sentences rather than isolated words. Say "Send the quarterly report to the team by Friday" instead of "report… team… Friday."
- Close heavy apps while using the largest tier — on 8 GB machines, having Chrome with 30 tabs open alongside the most accurate model can cause swapping. Close tabs or use a smaller tier.
- Customise your hotkey — if ⌘+Shift+Space conflicts with Spotlight or Alfred, change it in AirTypes Settings → Hotkey.
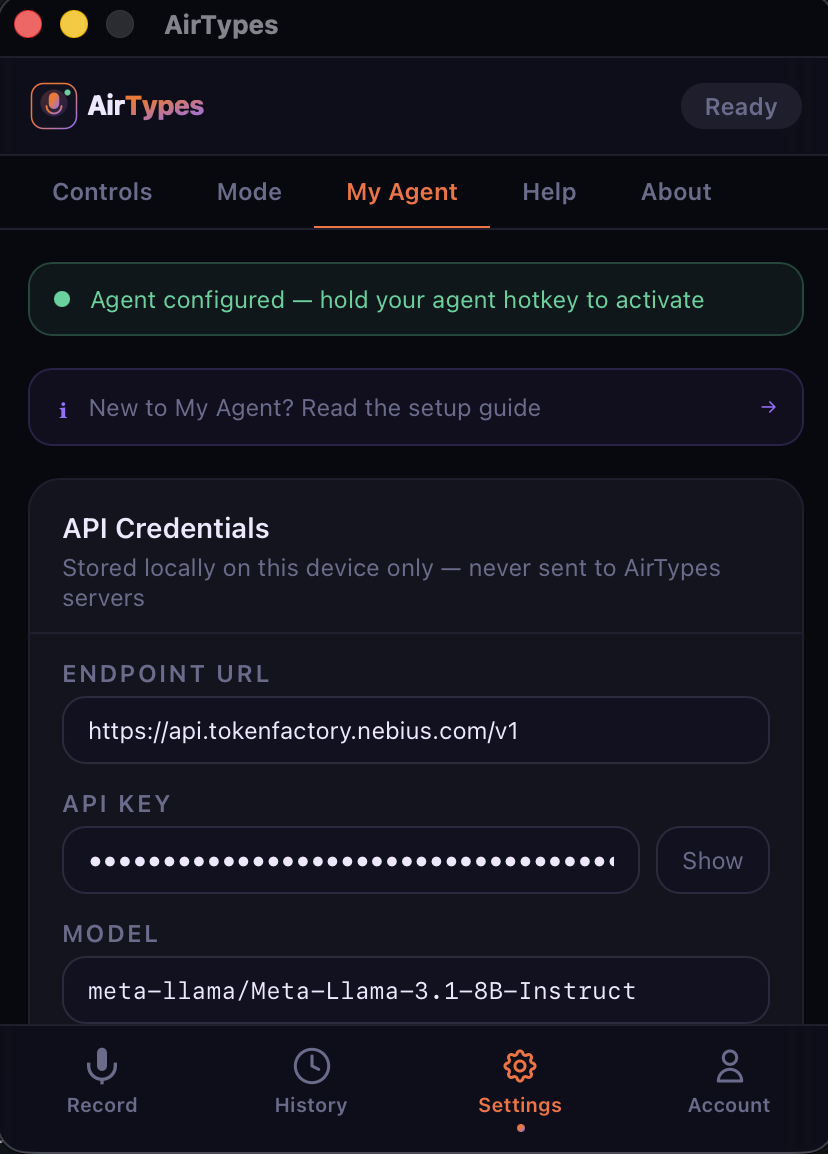
- Try My Agent mode — hold the agent hotkey instead and your speech goes to your own AI (GPT-4, Claude, Ollama) via your API key. The AI response types directly at your cursor. Set it up in Settings → My Agent.
- Launch at login — enable "Start at Login" in AirTypes settings so the app is always ready in your menu bar.
AirTypes vs. macOS built-in Dictation
| Feature | macOS Dictation | AirTypes |
|---|---|---|
| Privacy | Audio sent to Apple servers | 100% offline |
| Works offline | Partial (basic model only) | Full — all models |
| Accuracy (largest on-device tier) | Good | Excellent |
| Works in any app | Most (not all) | All — system-wide |
| Filler word removal | No | Automatic |
| Grammar correction | No | Built in |
| Writing tone selection | No | 4 tones |
| Voice-to-AI-Prompt | No | My Agent (BYOK) |
| Price | Free (with Apple) | $3.99/mo (7-day free trial) |